5 Activities To Teach Lines and Spaces In The Elementary Music Classroom
Ideas for teaching elementary students the difference between lines and spaces on the music staff.
To the trained musician, lines and spaces on a staff seem so simple, but when a child is confronted with this concept it can be extremely confusing.
For one, this is the only class where “on the line” literally means on the line. When they’re writing sentences in their other classes “on the line” really means on the space above the line or even more confusing if their classroom teacher uses paper with multiple lines for them to write their letters in.
Keeping this in mind, it’s important to make sure there is some substantial amount of time given to explaining and using this concept. It can be quite easy for us trained musicians to think that one portion of a lesson when we introduce sol and mi is going to be sufficient, but having a few activities that actively get the students involved in finding the lines and spaces on the staff can really save you a lot of headaches down the road when you’re trying to get your students to write solfège patterns or compositions on their own.
Here are five ways to teach lines and spaces to your students:
1. Carpet / Floor Staff
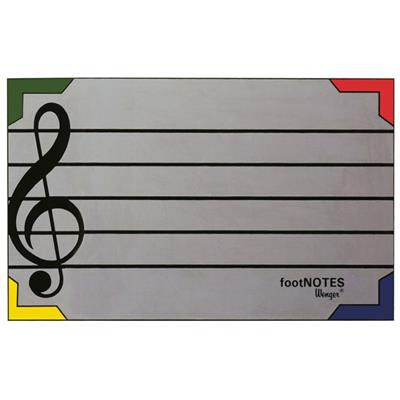
I love using this staff carpet to help the students see the lines and spaces on the staff.
Now if you just clicked on that link and fell off your chair because you forgot how crazy expensive rugs are for some reason (seriously why is that little thing 750 bucks???), you can also use colored masking tape or if you have a carpeted floors like me, I love using this velcro tape to make my own staff (and for a million other things).
One really easy activity to do right after you’ve introduced the concept is to just step (or jump) one foot onto a line or space and have the students shout out the answer. Kids love getting to yell so this is a great opportunity for them to use their voices during the lesson. It’s also a safe environment for those kids who might not have completely grasped the concept yet to either be wrong without being singled or to observe a little more until they’re comfortable with the concept. Of course, you’ll have to let at least some students come up and jump on the staff as well after you’ve modeled.
To extend this, I love to have the students stand away from the staff and toss a bean bag and try to get it onto a line or space. I’ve done various versions of this. The most simple is just having students come up and toss and everyone shouting the answer. For more individual assessments, you can have the student who tossed the bean bag call on another student to give the answer and then rotate that way. I’ve also made it into a game where I have two teams and one person on each team comes up, I call out either line or space, and the students get a point if they toss their bean bags onto the one that was called out. Again, I haven’t always done this, but if you know your students can handle some competition then it’s a super fun way to tackle this concept.
2. Start With A Few Lines
Let me first say that I know this can be controversial in the general music world, but I think that starting out the students with a two-lined staff rather than the full five lines really helps them to grasp this concept a lot quicker.
I start showing the two lined staff in Kindergarten when we present High/Low and continue to use it through teaching Sol/Mi. The consistency of seeing it presented in all of these concepts helps to show students the relationship between these pitches.
I make sure to use versions where the students are putting the notes on the two lines or using the spaces.
If they’ve seen these examples from all the way back in Kindergarten then it’ll be a no brainer when we add more lines and therefore more spaces.
3. Use Melodic Building Blocks
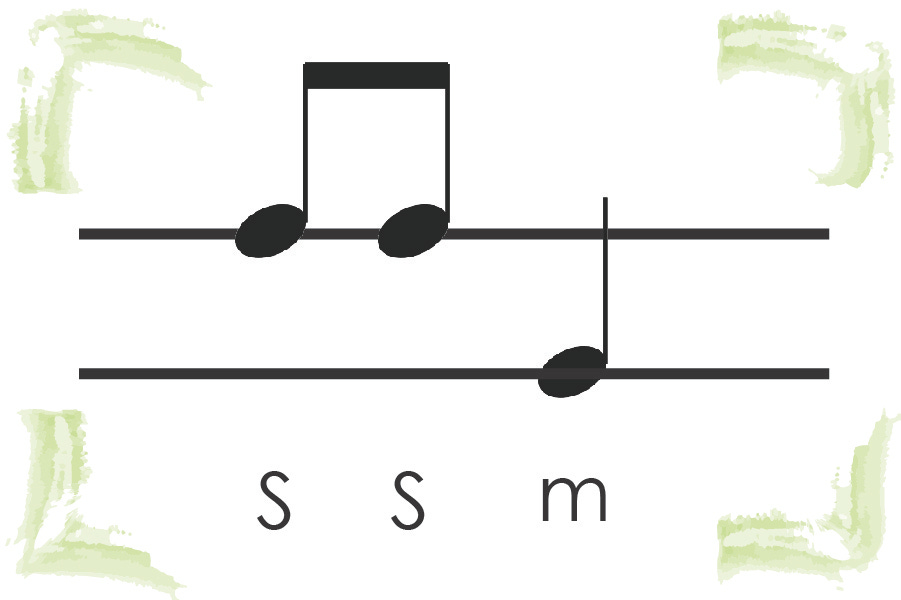
Many teachers enjoy using rhythmic building blocks in their classroom, but I don’t often hear of people using the idea to teach melody. After presenting Sol/Mi this is a wonderful idea to incorporate some quick composition into your lesson. The students will practice each block together as a class, then various combinations, and then create and sing their own combinations in groups or by themselves. An example of a melodic building block for sol/mi might look like this:
These are great for extending the concept of lines and spaces since the students are able to see lots of examples. You can have different sets using lines and spaces so students get to see as many different examples as possible while also being creative and composing a simple melody!
You can find more examples of these on my Teachers Pay Teachers Store.
4. Lines and Spaces 4 Corners Game
I discovered this game at the end of this past school year from Mr. Henry’s Music World on YouTube. The video below is for instrument identification and my students loved it!
This game is great and can totally be adapted for lines and spaces! Just create a few flash cards or Google Slides with examples of lines and spaces, have some kind of countdown timer, and then post “line”, “space”, “both”, and “wild” as your four corners. Give students ten seconds to get to a corner and then reveal the answer! The students in that corner have to sit out. I usually only have the students sit out for two rounds and then they can come back in, but you can make whatever rules you think will work best for your kids.
5. Assess the Skill
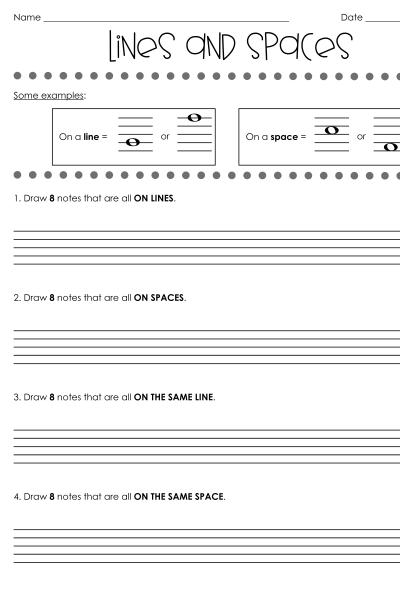
If you’ve done all of the above activities then you’re students should have a solid grasp on lines and spaces, which means it’s time for a formal assessment. I don't like doing pencil and paper work a lot during music class, but since my end goal for students when teaching this concept is for them to be able to write music using a five-lined staff, that is how they should be assessed. You can find a FREE quick and easy assessment for this skill on my TPT Store or right here:
This is a skill that will set your students up for success on many subsequent concepts throughout their careers in your classroom so make sure that you’re not just speeding past this important skill!


